Mixed Reality Unity Development Guide
Welcome to the Mixed Reality Application Unity Development Guide!
This guide covers the basics of Mixed Reality (MR) software development. While there is a wide array of tools and MR headsets available to create and deploy MR software, this guide focuses specifically on deploying Unity projects to a Microsoft HoloLens. Follow along to gain a basis in Unity and the MR software development workflow (or navigate via the Table of Contents to find information relevant to your own project). This document will also cover MR in general, and it's potential as the technology continues to improve.
What is Mixed Reality?
Mixed Reality (MR) is a rapidly evolving field of techonology combining aspects from Augmented Reality (AR) and Virtual Reality (VR) to blend digital and physical elements to enhance the user experience. In VR, the user interacts with a digital world. In AR, digital objects interact with the real world. MR creates an enviroment where both of these concepts coexist. The scope of this techonology is wide, as we see MR applied in a variety of different disciplines and industries. While the tech hasn't yet reached general consumers, the effects of MR are already seen in manufacturing, healthcare, education, research, entertainment, and more.

Figure 1: Various Mixed Reality Headsets
In education, MR can be used to create immersive and interactive experiences that allow students to explore historical sites, scientific concepts, and artistic works. In healthcare, MR can be used to simulate surgeries and other medical procedures, providing a safe and cost-effective way for medical professionals to train and practice. In entertainment, MR can be used to create immersive games and experiences that blur the line between the digital and physical worlds.
It is important that developers, researchers, students, and instructors (and any other profession relating to or involving technology) push for creative MR solutions to the unsolved problems within their disciplines. As MR techonology advances even further, it will only gain accessibility and versatility. MR headsets are becoming more affordable, meaning these enhanced, immersive experiences will soon be in the hands of a much wider range of consumers and developers.
The Microsoft HoloLens
The Microsoft HoloLens is a head-mounted display that uses a combination of sensors and cameras to allow a user to experience MR applications. The HoloLens is recognized as one of the most advanced MR devices available, and Microsoft has made it relatively simply for developers to test and release their own MR applications for the HoloLens via the Microsoft Store.
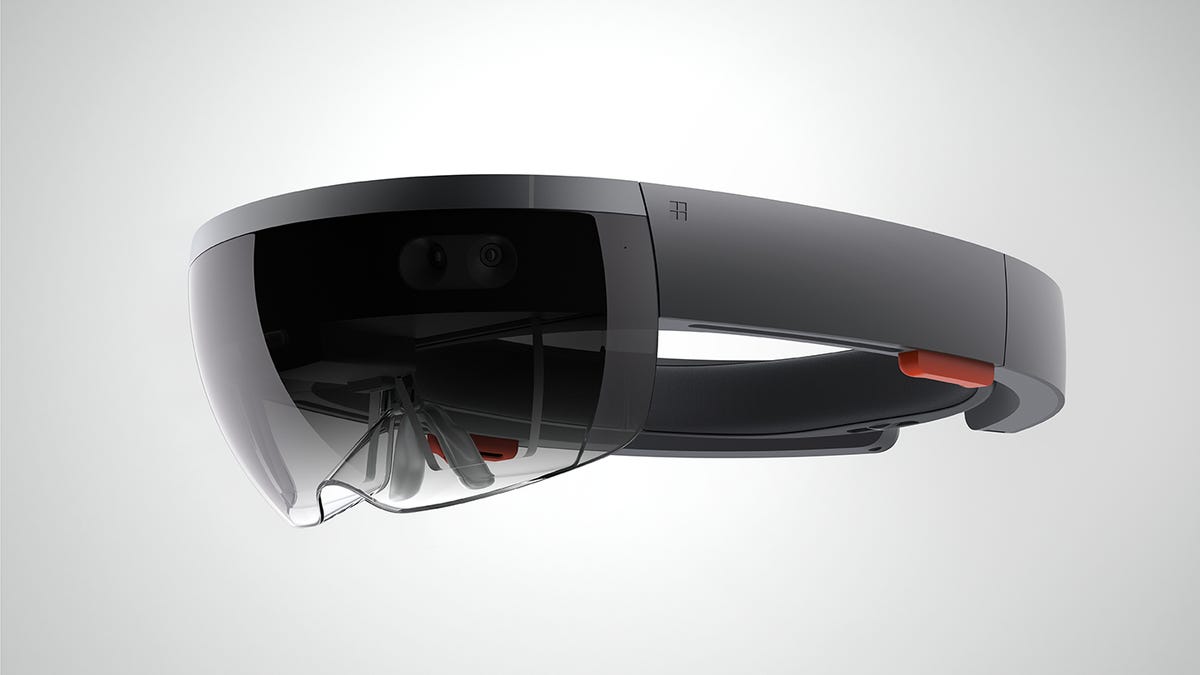
Figure 2: Microsoft HoloLens
The first HoloLens was released in 2016, with the second generation of the device (HoloLens 2) having been released late 2019. This guide will focus on developing for the HoloLens 2, but the process is similar for both generations. The HoloLens 2 features hand and eye-tracking, enabling developers to build more intuitive and natural user experiences for the headset. Both the HoloLens 1 and 2 are used throughout the aforementioned industries, but we've only just scratched the surface when it comes to MR solutions with the Microsoft HoloLens.
For more information on the HoloLens, visit the microsoft website.
Unity
Unity is a program popularly used for game development, but it is also commonly used in the development of MR applications. While there are many alternatives such as Unreal Engine, Unity tends to be the preffered choice due to its accessibility and comprehensive toolset. Microsoft has also developed several toolkits made specifically to be integrated into Unity for Mixed Reality software development. The Mixed Reality Toolkit is the most extensive example, which is the main toolkit this guide will cover. Specifically, this guide will focus on the 3rd Mixed Reality Toolkit (MRTK3).
For more information on Unity, visit their website.
Getting started / Installation.
This section will guide you through the process of installing and setting up the proper versions of Unity and the Mixed Reality Toolkit. A 'Hello World' project will be made to ensure the installation and setup has been completeled properly. This section will also cover the scripting aspect of application development, ensuring that you can effectively build and edit scripts for your MR project. Unity uses the programming language C# for scripting and this guide will go over the usage of Visual Studio as the IDE (integrated development environment) of choice, but any IDE or text editor would suffice.
Before you start
The following software will be installed throughout this process:
- Unity Hub
- A platform for managing Unity Editor installations
- Unity Editor (version 2021.3.23f1)
- Where the application will be developed.
- Installed via Unity Hub
- Visual Studio Community Edition 2022
- Used for C# script editing and deployment
- Microsoft's Mixed Reality Feature Tool for Unity-
- Manages MRTK packages in the unity project
- Microsoft's Mixed Reality Toolkit
- Library of tools, prefabs, etc.
This guide will show the process on a Windows 10 computer, so note that some steps may have slight variation for Linux, Mac, or other Windows versions.
To start, make a new folder to store all of the new installed and created files. Name the folder 'mr_tutorial'. (make sure it is in an accessible location, as it will be accessed very often):
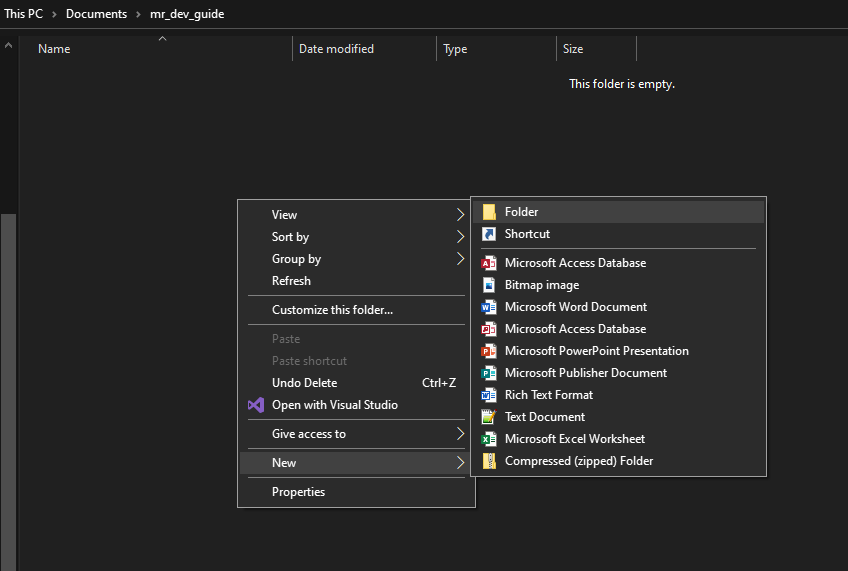
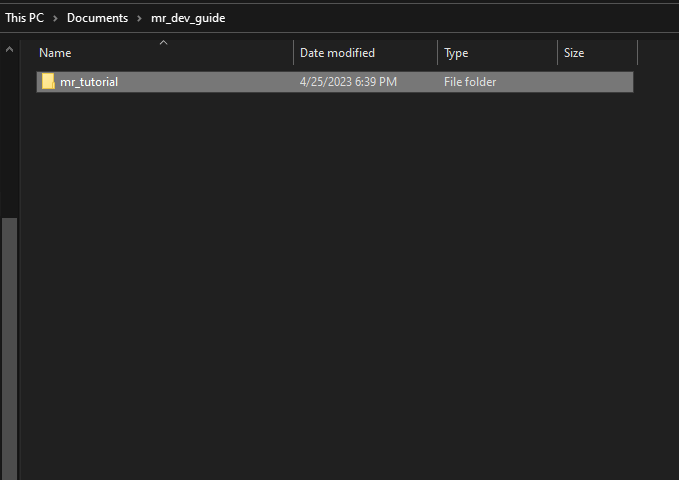
Figure 3: Creating the new folder
Unity
Now, Unity will be installed onto your machine. Click here and navigate to the Unity download page. Then scroll down to the "Create with Unity in three steps" section and click on the download link for the system being used.
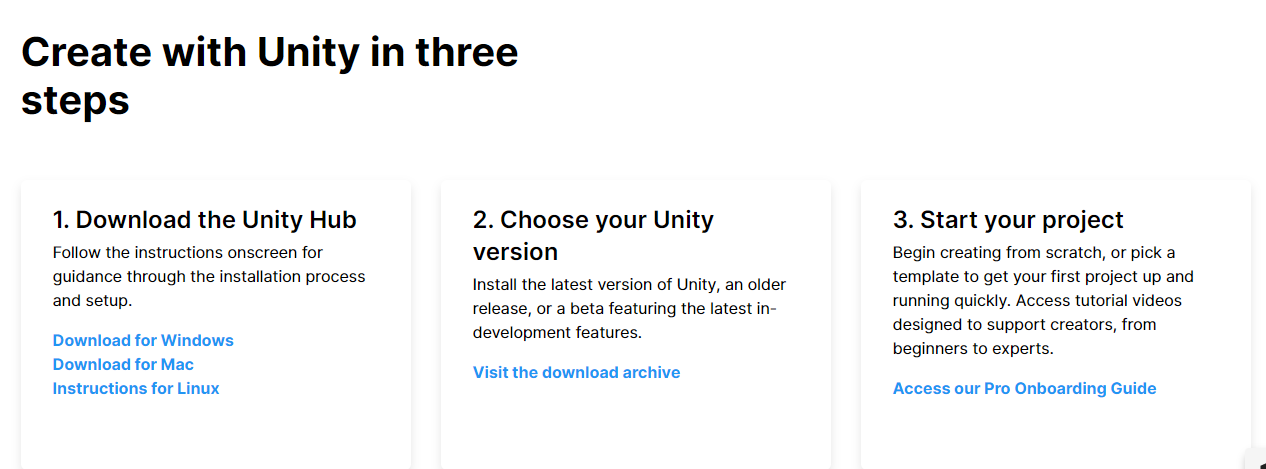
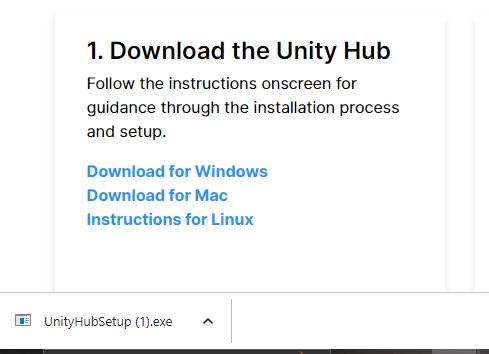
Figure 4: Downloading Unity Hub
Check your downloads, and the UnityHubSetup.exe file should now be downloading (~115 MB). Once completed, run the .exe file. If prompted to allow the application to make changes to the computer, hit 'Allow' or 'Yes'. Running this file will bring up the Unity Hub Setup window. Hit 'I Agree' at the bottom right of the window.
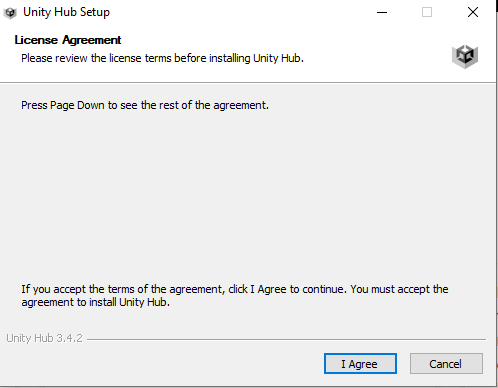
Figure 5: Running Unity Hub Setup
On the following screen, changes can be made to where Unity Hub will be installed. It installs to "C:\Program Files\Unity Hub" by default, but can be installed anywhere (recall installation location just in case it's needed). Hit Install once changes have been made (if any), and Unity Hub will now be installed
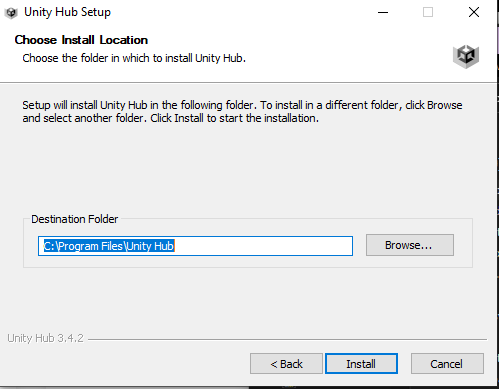
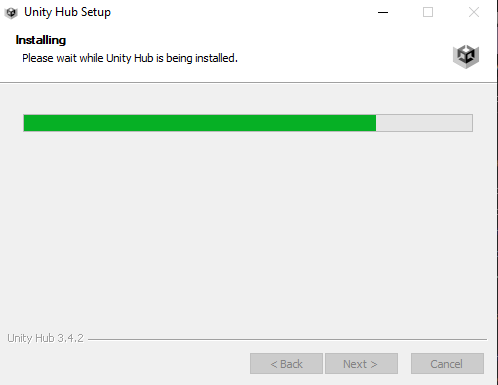
Figure 6: Installing Unity Hub
Unity Hub has now been installed! Keep 'Run Unity Hub' checked on this window and hit 'Finish' at the bottom right. The Unity Hub will now open and automatically prompt you to install Unity Editor.
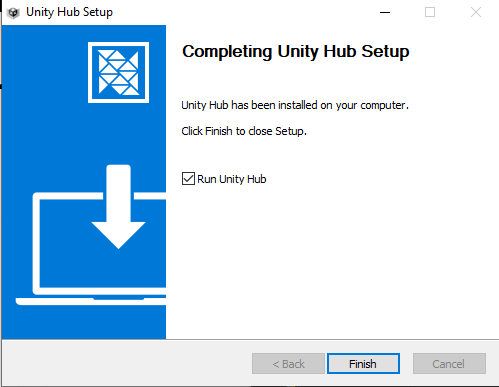
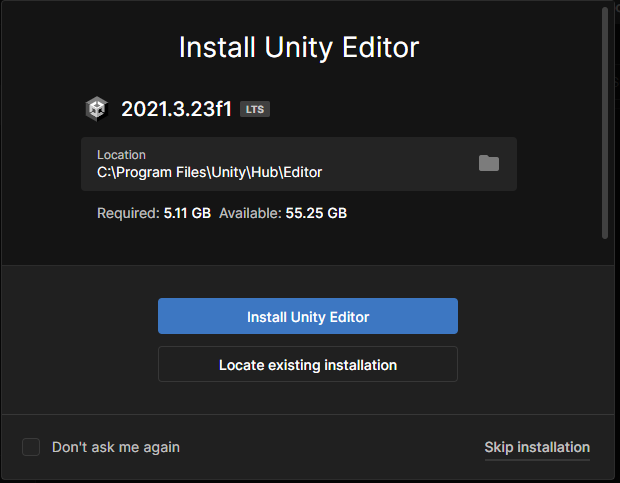
Figure 7: Opening the Unity Hub
Unity Hub shows that it will install Unity Editor version 2021.3.23f1 to the 'Unity\Hub\Editor' location (~5.11 GB). Click 'Install Unity Editor' and the install will begin. The smaller window will close, revealing the 'Downloads' tab in Unity Hub. It shows the current progress of the Unity installation. Feel free to explore the Unity Hub for a bit while the editor installs.
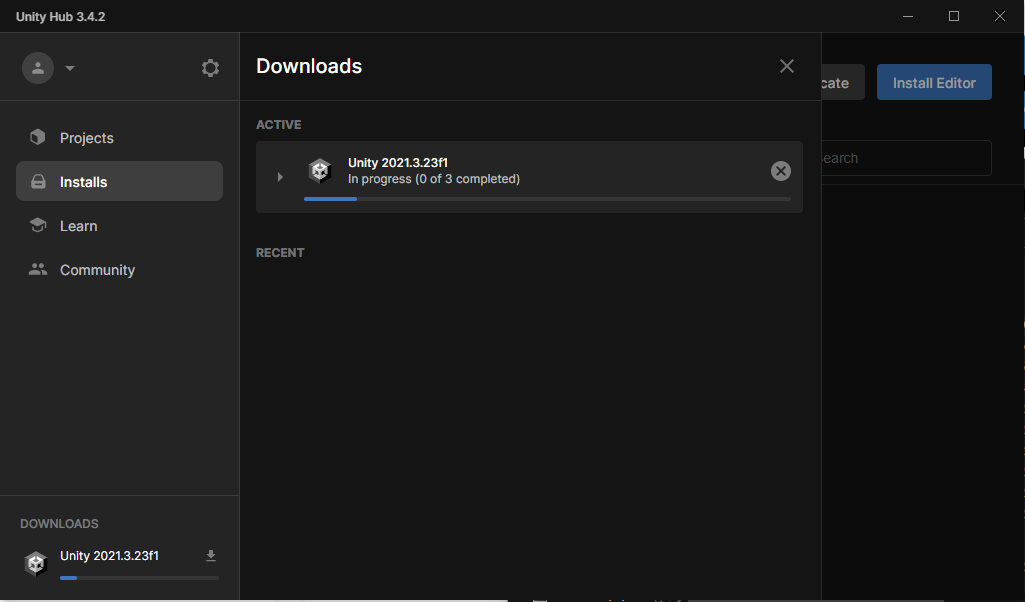
Figure 8: Unity is installing
Unity is installing the editor application, WebGL Build Support, and Documentation. This may take a while. If more prompts to allow Unity Hub to make changes to the device pop up throughout the process, be sure to click 'Yes' or 'Allow' as done before.
You may want to install Visual Studio 2022 while you wait!
Once the installation is complete a 'Install complete' message will show 'Downloads' tab. The Unity Editor installation can now also be seen under the 'Installs' tab.
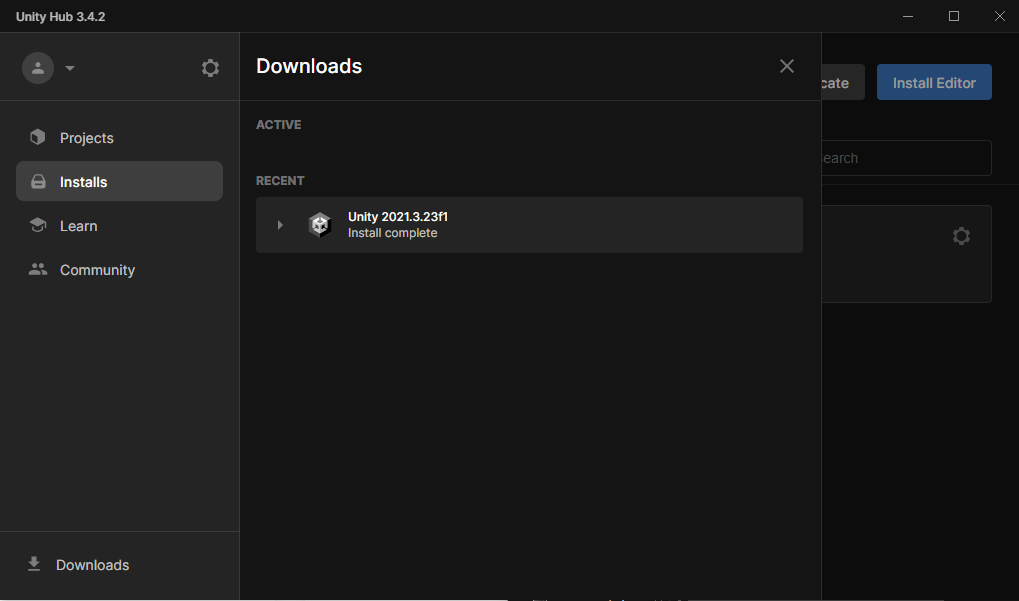
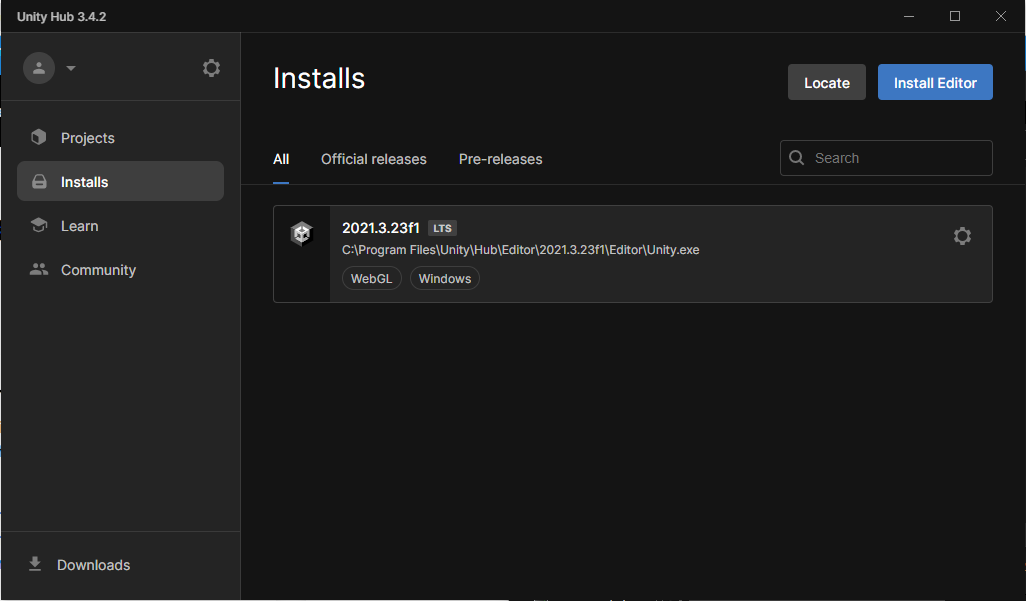
Figure 9: Completed Unity installation
Now that Unity is installed, one module needs to be added for MR software development. On the 'Installs' tab, click the gear to the right of the installation. In the menu that appears, click 'Add Modules'.
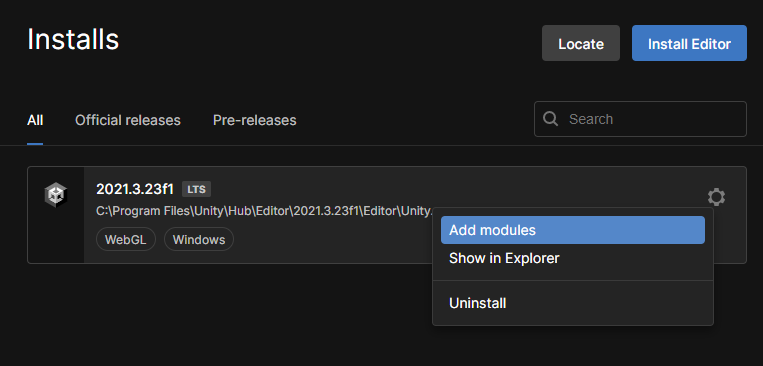
Figure 10: Selecting Add modules
A list of modules will now appear. If Microsoft Visual Studio Community 2019 is selected (blue check next to module), click on the check to deselect it. Visual Studio 2019 should not be instaled since Visual Studio 2022 will be installed in the next section.
Scroll and find the 'Universal Windows Platform Build Support' module, and check the checkbox to the left of it to select it.
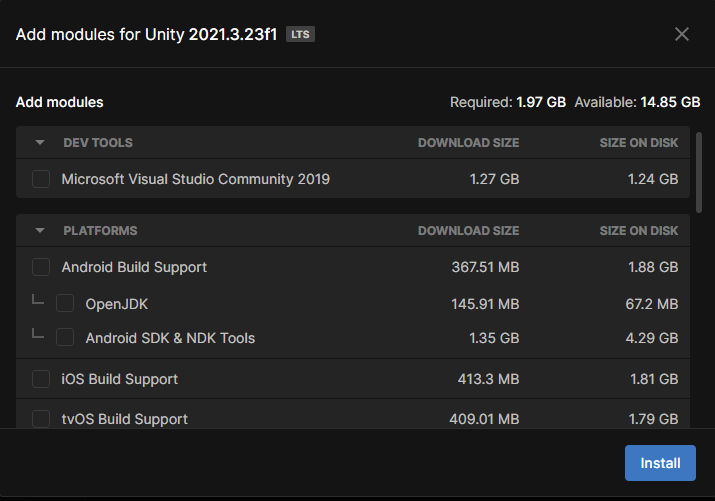
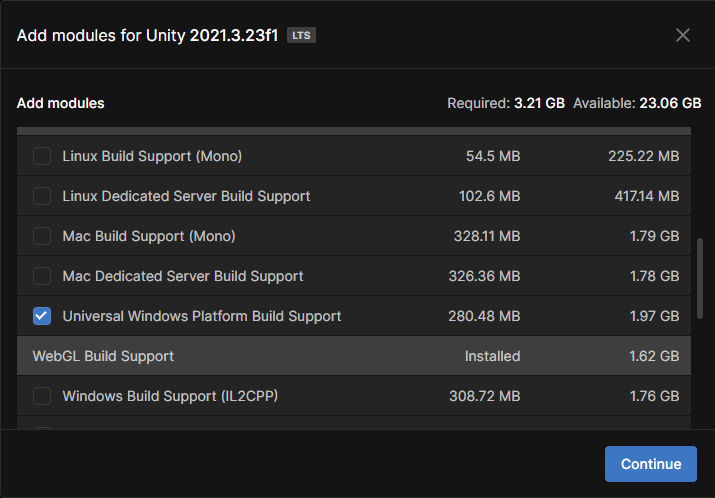
Figure 11: Deselected VS2019, selected UWP module
Once the proper modules are selected/deselected, click 'Install' on the bottom right. This will start the installation of the UWP module selected previously (~1.97 GB). It's installation progress can be monitored similary to inital Unity Editor installation.
Congratulations! Unity is now properly setup for MR software development. The next step is to install Visual Studio 2022. If Visual Studio 2022 is already installed, skip ahead to project setup.
Visual Studio 2022
Visual Studio 2022 is used in the development process as a C++ code editor and build compiler. The installation process for Visual Studio 2022 will now be shown:
Click here and navigate to the Visual Studio download page, then click on the 'Free download' button under the 'Community section' on the page.
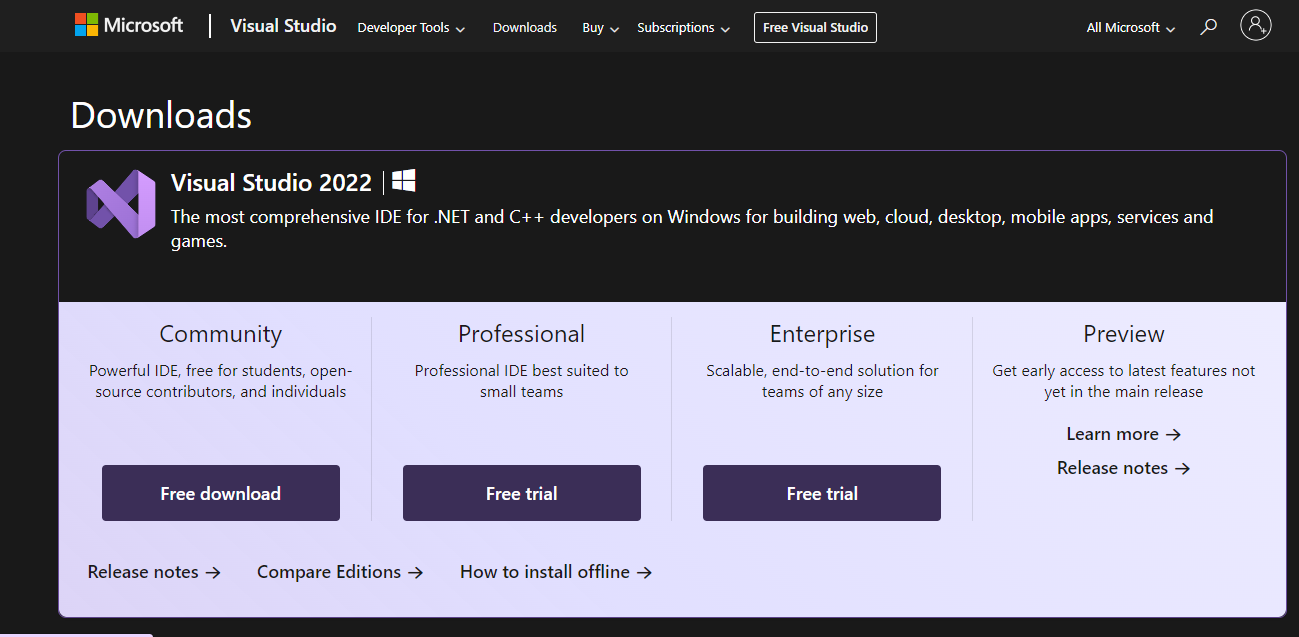
Figure 12: Downloading Visual Studio
Check your downloads, and the VisualStudioSetup.exe will now be downloaded (~3.54 MB). Once completed, run the .exe file. If prompted to allow the application to make changes to the computer, hit 'Allow' or 'Yes'. Running this file will bring up a small Visual Studio Installer window. Hit 'Continue' at the bottom right of the window and the Visual Studio Installer will now be installed (~21.2 MB).
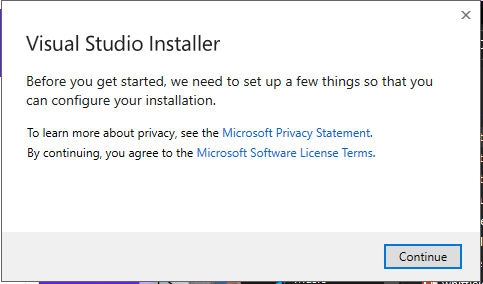
Figure 13: Starting Visual Studio Install
Once installed, a larger Visual Studio Installer window will open. This window details what will be included in the Visual Studio 2022. There are some workloads and componenets that are needed for Unity MR Development, which will be detailed below.

Figure 14: Visual Studio Installer startup - workload tab
Make sure the following workloads are checked under the 'Workloads' tab in the menu on the left:
- .Net desktop development
- Desktop Development with C++
- Universal Windows Platform development
- Game development with Unity

Figure 15: Selected workloads
In the rightmost menu 'Installation details' expand the Universal Windows Platform development section (click the arrow next to it in the list) to show the individual components. make sure the following components are checked (leave any that already checked the way they are):
- USB Device Connectivity
- C++ (v142) Universal Windows Platform tools
- Windows 10 SDK (10.0.19041.0)
- Windows 10 SDK (10.0.18362.0) or Windows 11 SDK will work as well
- Game development with Unity
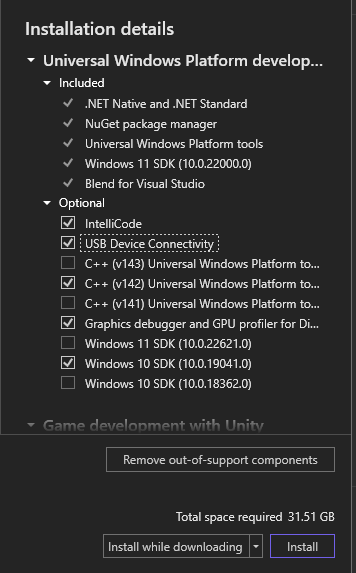
Figure 16: Selected UWP workload components
Click install on the bottom right, which will start the Visual Studio 2022 install with the selected workloads and components (~31.51 GB). It will show the main Visual Studio Installer window, where the installation's progress is shown. Visual Studio will download and install simultaneously, but still may take a while to complete. While waiting, make sure you have completed all other Unity installation steps, as they will be necessary for the next sections.
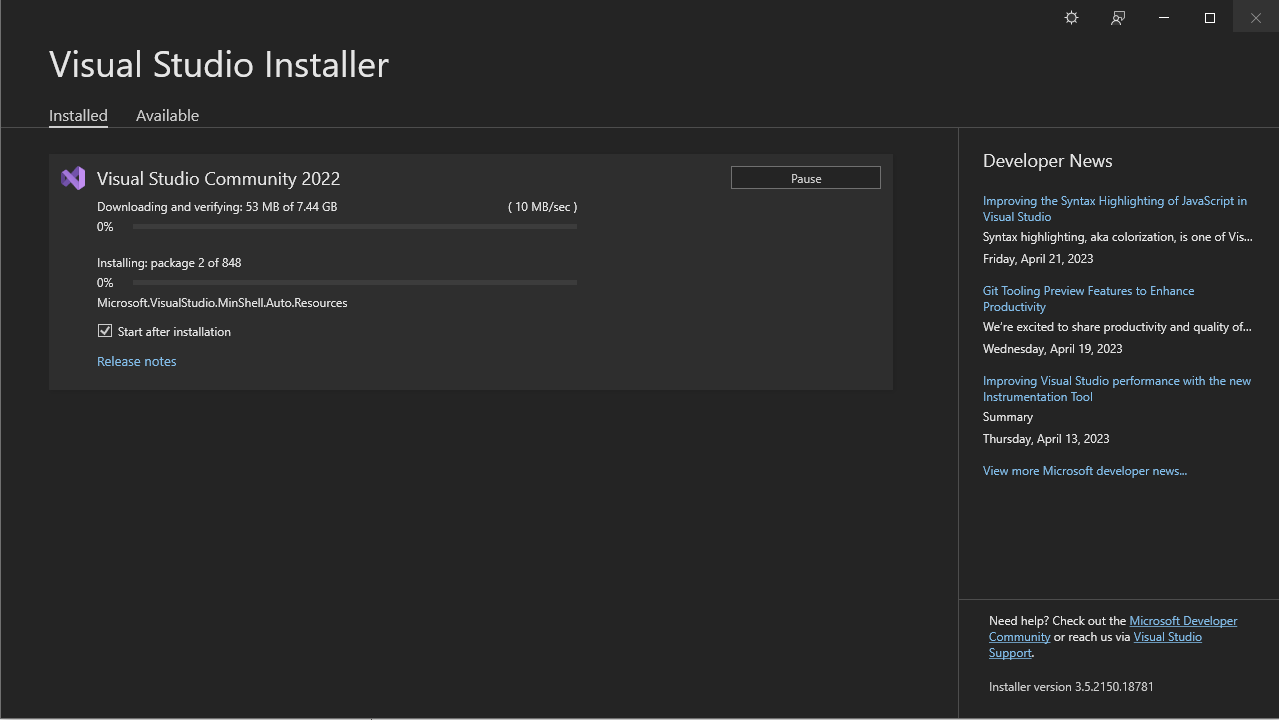
Figure 17: Visual Studio install in progress
Project Setup
Now that Unity and Visual Studio 2022 are installed with the proper components and modules, a simple tutorial project will be completed. This section will step through the creation of the project, and the next will step through importing the Mixed Reality Toolkit into the new project.
In Unity Hub, navigate to the 'Projects tab' and click the 'New project' button at the top right to begin the creation of the tutorial project.
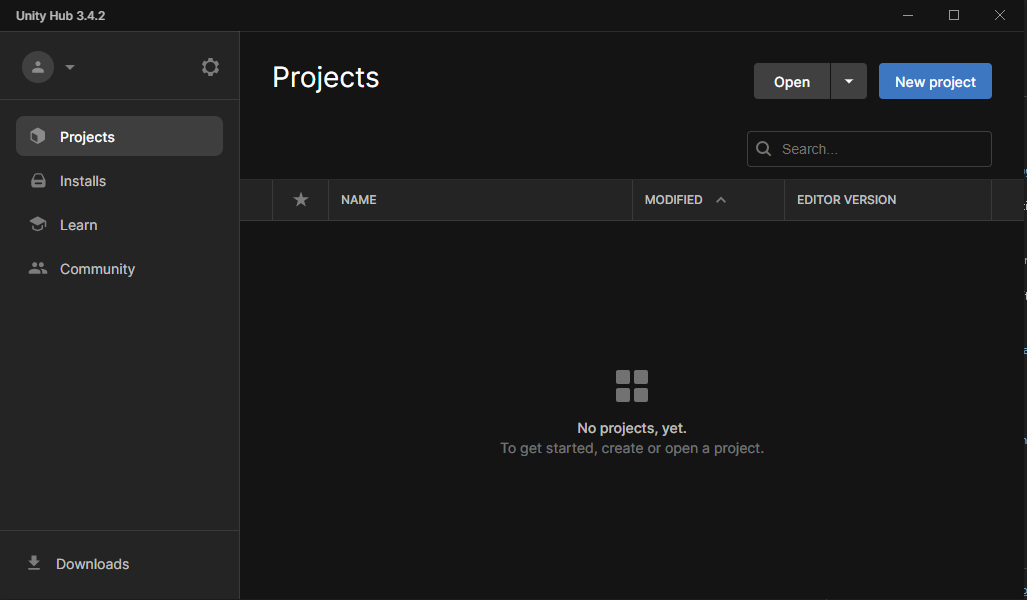
Figure 18: Unity Hub Projects Tab
This will open the 'New project' window where the project type or template can be selected. MR projects are considered 3D projects in Unity, so click on the box with '3D Core' to select it. On the right side of the window in 'Project Settings' set the project name to something similar to 'My first MR project'.
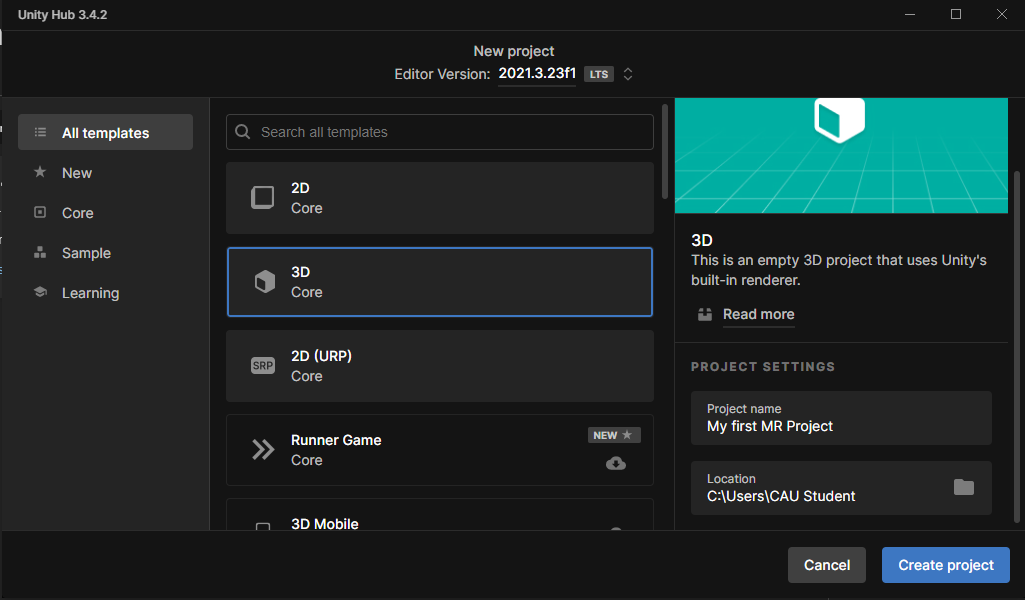
Figure 19: New project window - selecting 3D and setting a project name
The project's 'Location' will be set to the project folder created earlier (mr_tutorial). Click the folder icon to the right of the current 'Location', navigate into your mr_tutorial folder, then click 'Select folder' to set your mr_tutorial folder as your project location. The location has now been updated, so click on 'Create project' within the 'New project' window to begin building the project.
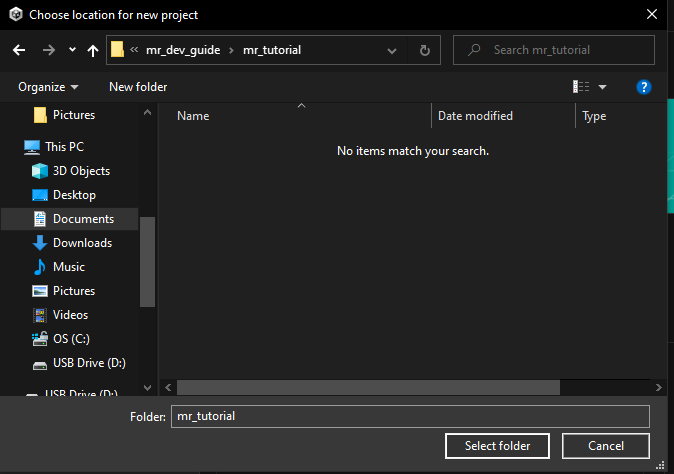
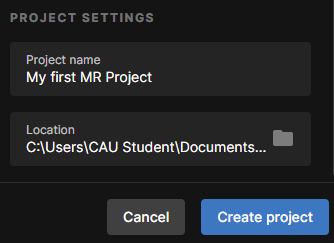
Figure 20: Setting project location to mr_tutorial
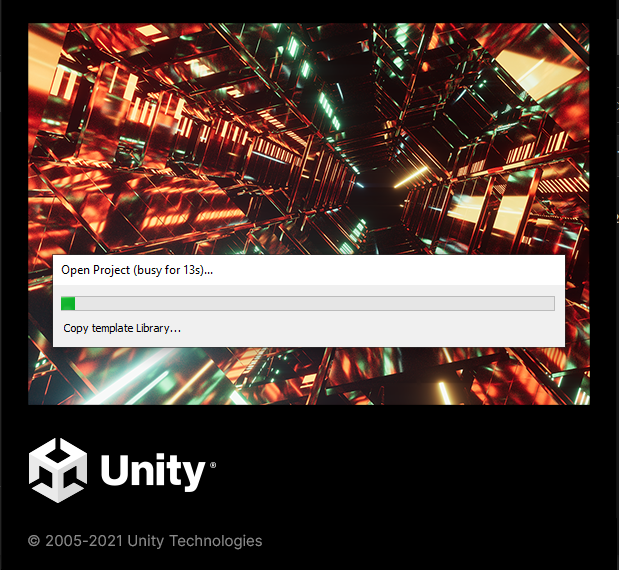
Figure 21: Unity is building the new project
Welcome to Unity! The tutorial MR Project had been created, and this is the unity environment. The next step is to import the Mixed Reality Toolkit.

Figure 22: My first MR Project
Close out of the Unity project (X on top right). It will be reopened once MRTK is imported.
Mixed Reality Toolkit
In this section the Mixed Reality Feature Tool will be downloaded and used to import the Mixed Reality Toolkit into the new project.
Click here to navigate to the Mixed Reality Feature Tool download page, then scroll down and click on the 'Download' button. In the 'Choose the download you want' window, check MixedRealityFeatureTool.exe then press next. This file will now be downloaded (~68.1 MB).
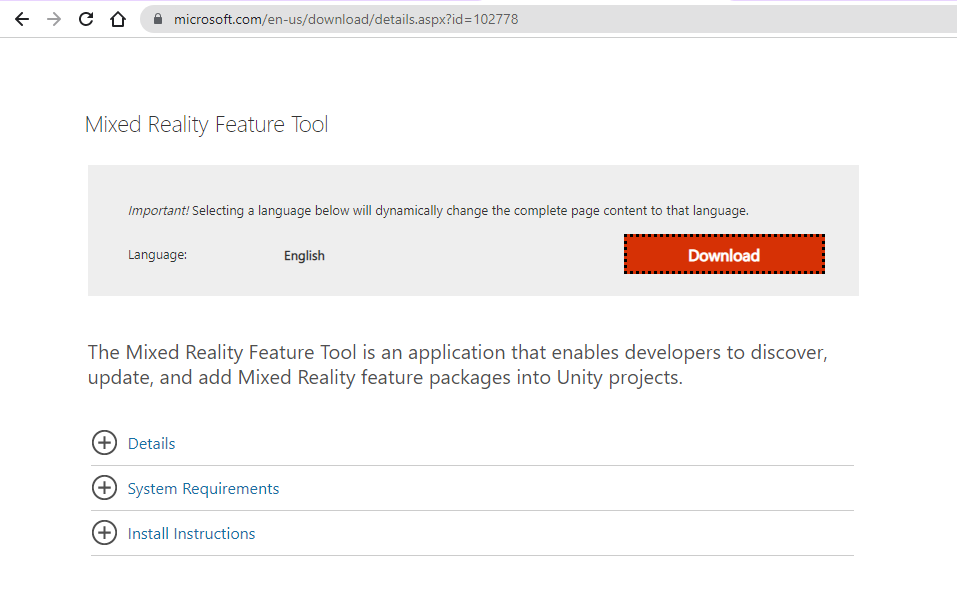
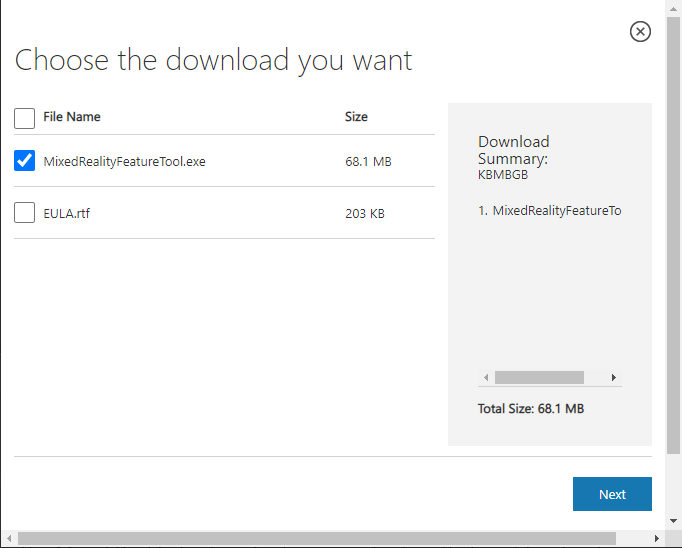
Figure 23: Downloading the Mixed Reality Feature Tool
Place this downloaded file (MixedRealityFeatureTool.exe) into the tutorial folder mr_tutorial, and then run the file (This isn't necessary, but it's smart to place it here during the tutorial so it is easily accessible). The Mixed Reality Feature Tool for Unity will now open. Click Start to begin the import process (The tool must refresh first, so it may be grayed out upon first opening. Wait a bit and allow it to refresh, and the Start option will be available).
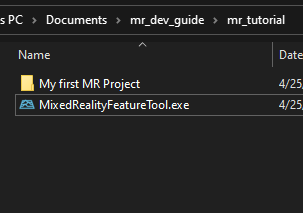
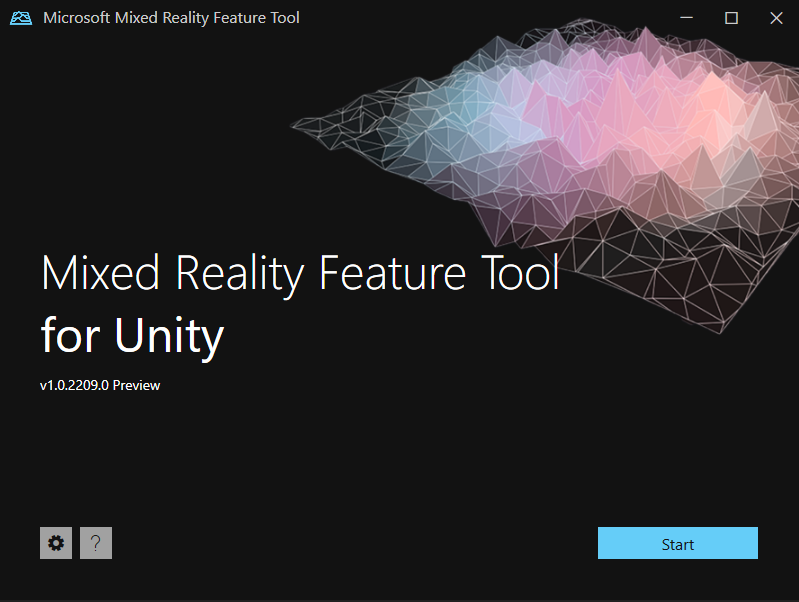
Figure 24: Opening the Mixed Reality Feature Tool
On the 'Select Project' window, the path to the project must be set. Click the three dots to the left of the project path text box, then navigate to the created project folder (the one inside mr_tutorial, not mr_tutorial itself). The folders Unity automatically creates should be seen (Assets, Library, Logs, etc.). Click 'Open' to update the path.
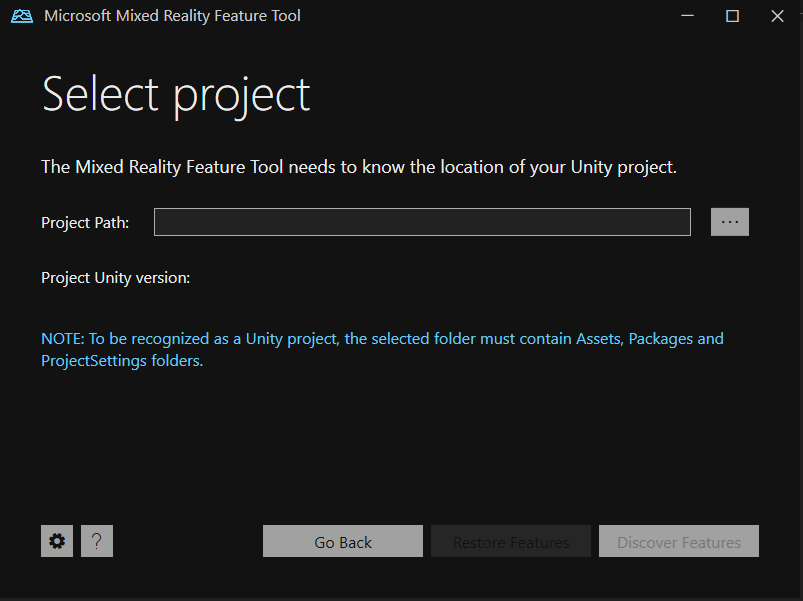
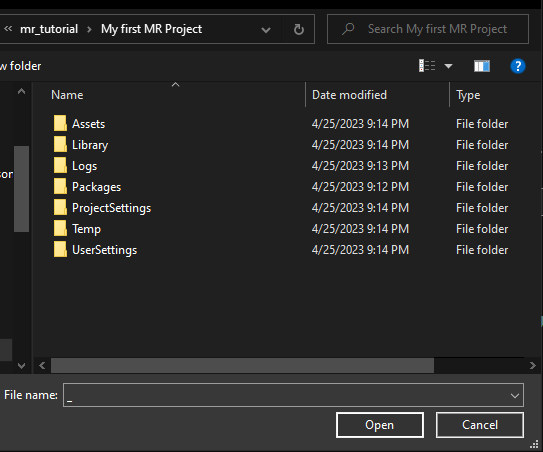
Figure 25: Setting project path
With the path now updated, click 'Discover Features' to begin adding features to the project.
In the 'Discover Features' window, all MRTK features and examples are listed. The features needed for this tutorial will now be selected. Make sure the 'Show preview releases' check box at the bottom is checked, so that all features are visible.
Navigate through the following sections and ensure the corresponding features are checked:
- Platform Support
- Mixed Reality OpenXR Plugin
- Spatial Audio
- Microsoft Spatializer
- MRTK3
- MRTK Input
- MRTK UX Components
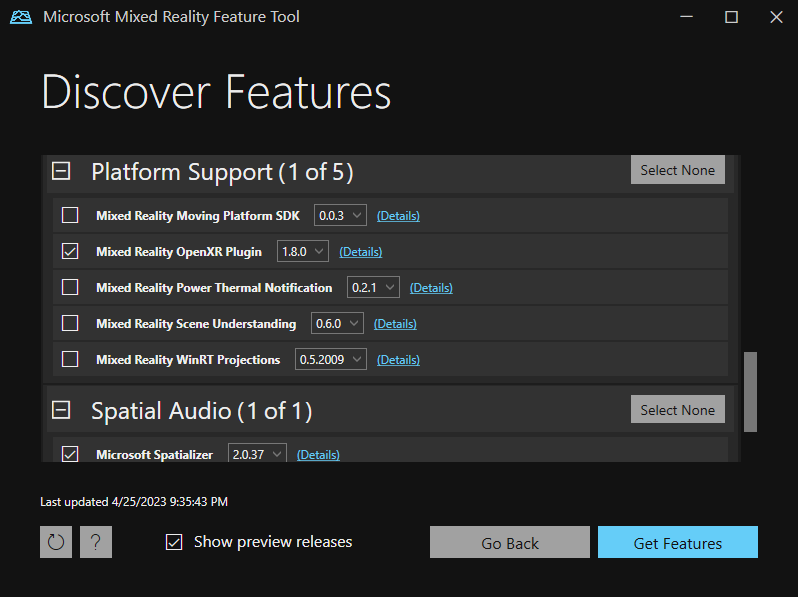
Figure 27: MRTK Discover Features window.
Once all proper features are selected, click the 'Get Features' button on the bottom right of the window. The selected features will now be downloaded, as prompted on the window. Once complete, the 'Import Features' window will appear. This window details the features chosen as well as the dependencies required for the chosen features. All of these packages were downloaded and will be imported into the project.
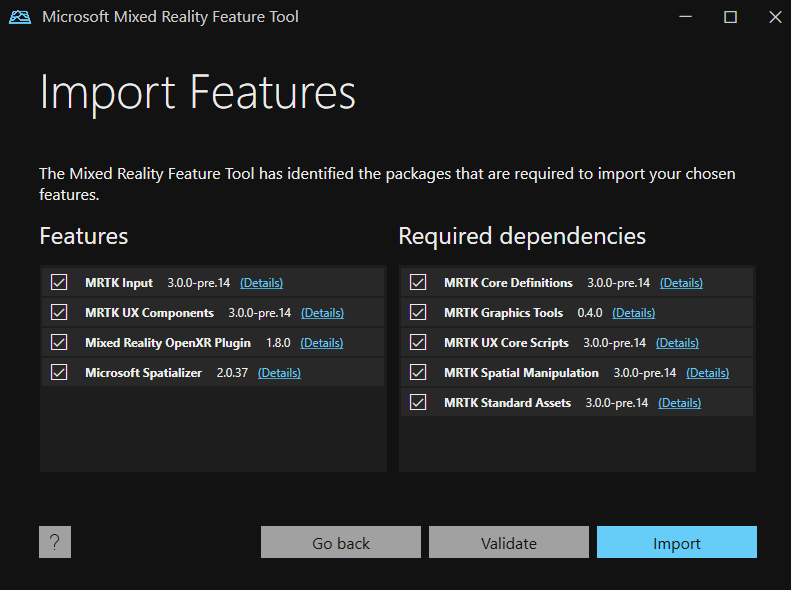
Figure 28: MRTK Import Features window.
Ensure everything in both lists are checked, then click the 'Import' button. On the 'Review and Approve' window click the 'Approve' button. The features have now been imported into the tutorial project. Click exit on this window, and reopen the Unity project.

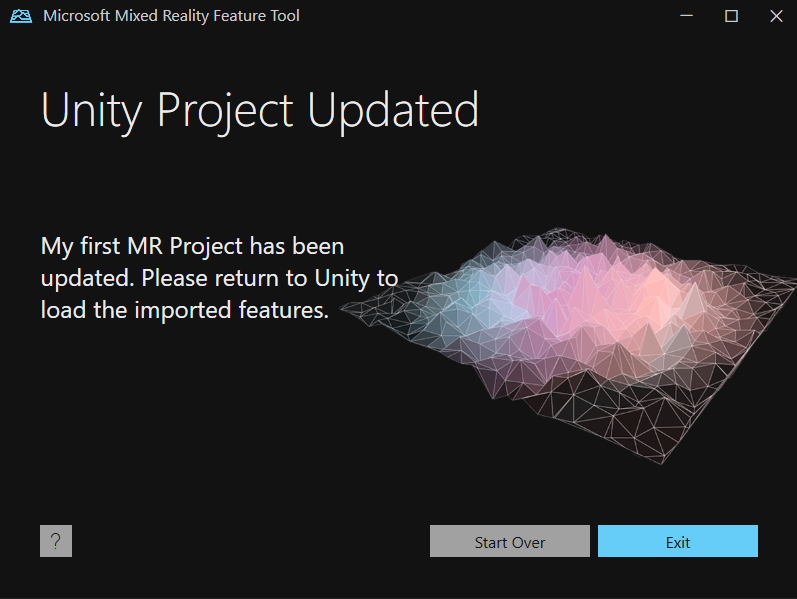
Figure 29: Completing the feature import process.
In Unity Hub the tutorial project can be reopened by clicking on its box in the 'Projects' tab
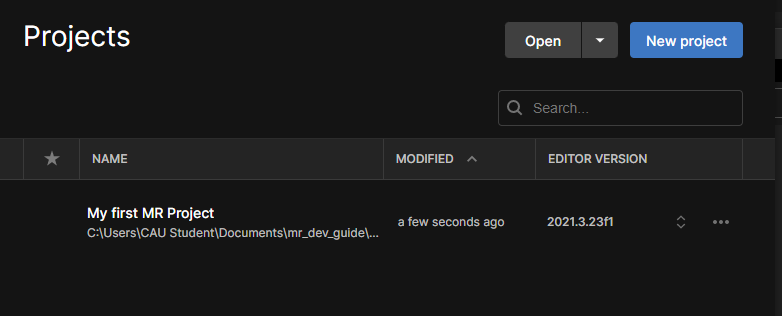
Figure 30: Reopening the project.
Upon reopen (or as soon as the window is clicked if the project wasn't closed), the packages will be imported and the environment will go through a setup process. Several pop up messages will appear. When the 'Warning' message appears about enabling input backends, click yes.

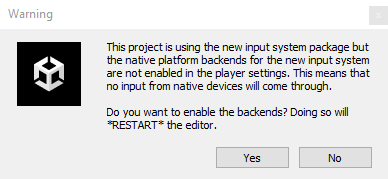
Figure 31: MRTK setup popups - 1.
Another pop up will appear asking to update XR InteractionLayerMask, click 'No Thanks', and the editor will finishing importing. (Will restart several times throughout the process)
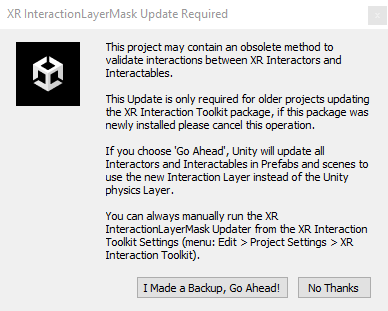
Figure 32: MRTK setup popups - 2.
The MRTK features have now all been imported into the project! Some last setup processes will be complete to finalize the importing of MRTK into the tutorial project.
Firstly, a MRTK3 Profile must be assigned. At the top left of the editor, click 'Edit', then click 'Project Settings' in the menu that pops up. In this window are tabs of the project's settings. Click on the 'MRTK3' tab to show the MRTK3 settings.
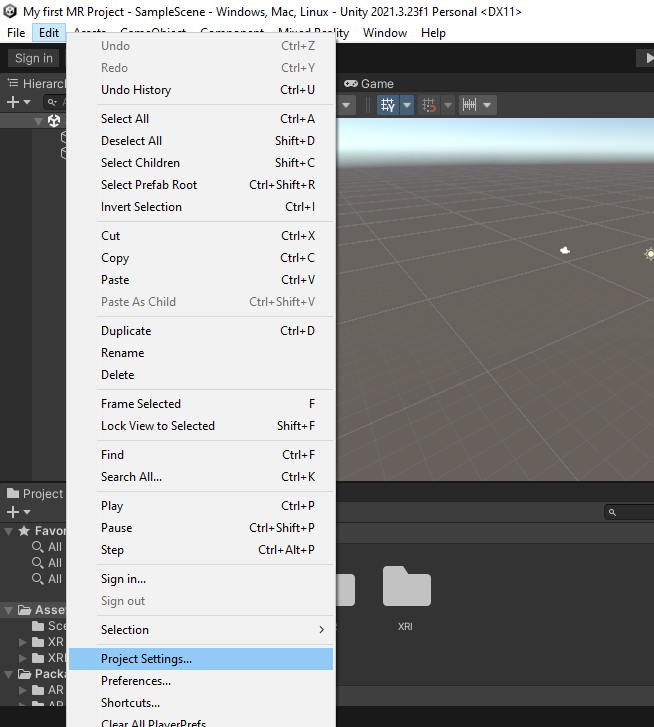
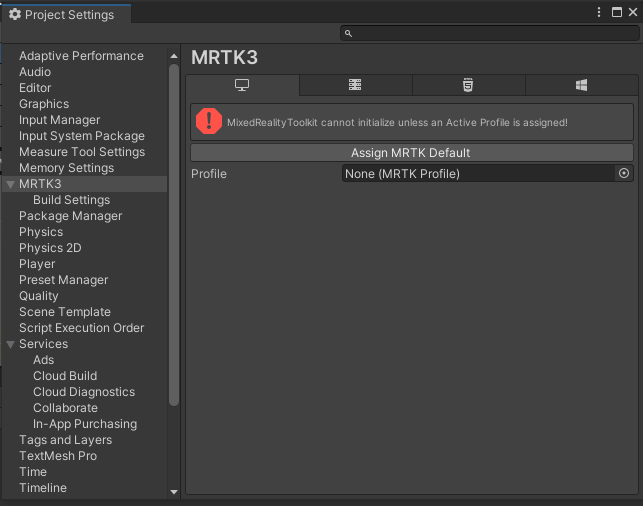
Figure 33: Opening Project Settings.
[setting profile].

Figure 34: [].
[openxr].
Figure 35: [].
C# Scripting
As mentioned at the beginning of this section, Unity uses C# as its scripting programming language. During installation the newest version of Visual Studio was installed, and we will now explore using VS as our IDE to build our own scripts for our 'Hello World' project. Note that any IDE or text editor will work just fine for C# script editing, but Visual Studio has advanced features that tie in perfectly with the MRTK and HoloLens (all 3 developed by Microsoft). This is especially true when it comes time to deploy your application to a device. Again, Visual Studio is recommended, but not required.
(The current version of this guide does not use custom scripts for the tutorial project, but the next version will! Check back soon.)
Microsoft's Mixed Reality Toolkit (MRTK).
The Mixed Reality Toolkit (MRTK) is a library of tools, resources, and components useful for developing mixed reality application. It was originally released under the name HoloToolkit in 2017, specifically for HoloLens app development, but was updated and generalized to be used on a variety of platforms supporting MR.

Figure 3: MRTK Toolkit Prefabs in MR space
MRTK helps to simplify the development process as it provides a universal framework and several useful objects for your Unity MR project. It is available for both Unity and Unreal Engine developers, as either can be used for Mixed Reality application development. Again, this guide will only cover the Unity side of MRTK.
Features
This library includes a wide array of prefabs and components for use in your Unity project. Prefabs are pre-built objects (or collections of objects) with pre-set properties and components that can be easily instantiated and reused. These prefabs include commonly used objects such as UI elements (buttons, sliders, panels, windows, menus, etc.) as well as specific use-case objects such as spatial mapping, hand/eye tracking, and interactivity objects. Using these MRTK tools and components in conjuction with Unity's own prefabs and extensive toolsets allow quick implementation of your mixed reality ideas.
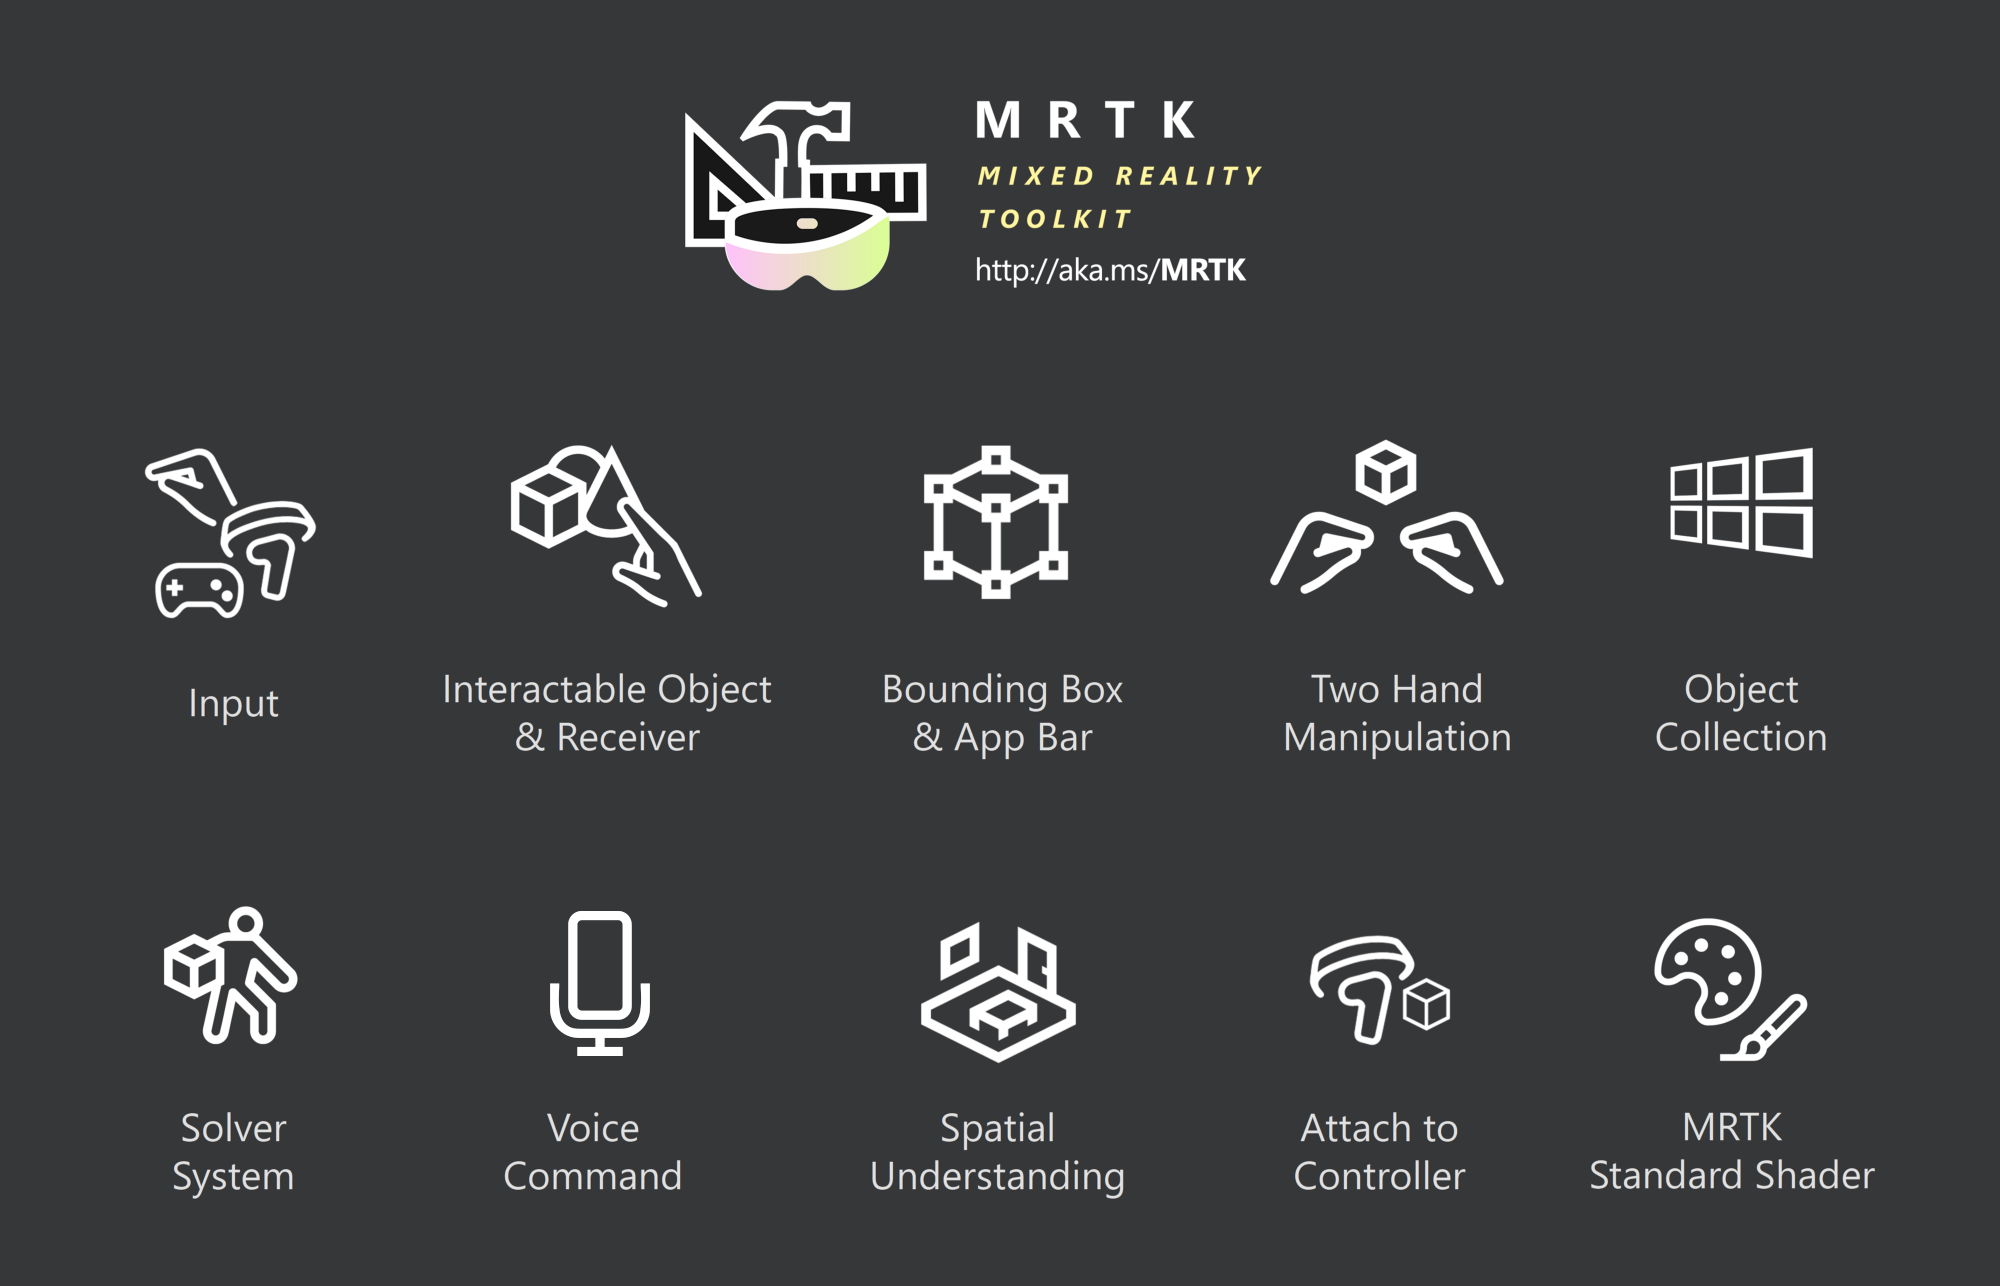
Figure 4: Diagram of some MRTK features
Thanks to Microsoft's MRTK, a lot of the work has been done for us in terms of object creation. Your own custom MR software will, of course, require a lot of custom code, objects, and components, but utilize preexisting prefabs/components when possible to avoid tedious or unessecary work. You can access all that the MRTK has to offer directly from Unity after installation, and the setup process included will make sure your enviornment is setup properly for building, testing, and deploying your MR application.
Links/Resources
This guide focuses on the Mixed Reality Toolkit 3. Visit the Developer Documentation on Microsoft's site to explore the toolkit further. It includes interactive course-like lessons that will step you through the usage of their toolkit or any specific elements you would like to implement.
Application Deployment.
(The current version of this guide does not cover application deployment, but the next version will! Check back soon. Below are the topics that will be covered)
HoloLens Setup
HoloLens Emulation
Deploying to Hololens
Conclusion / Wrapping up.
Mixed Reality is an exciting amd constantly evolving field that is only in it's infancy. The scope of MR is only getting wider, as more and more companies and industries ask developers to create innovative MR solutions to the problems facing their fields. The only way this trend can continue is if talented software developers continue to build these solutions. A basis in MR software development is a necessary tool for any aspiring MR software developer, and this guide should act as a tool to them.
While the concept may seem abstract, the process of bringing MR concepts to life can be simplified with guidance. While this guide focused on the building of an MR application using Unity, MRTK, and Visual Studio, there are an ever-growing number of avenues to take when developing mixed reality software. MR software developers should use this guide as a springboard to find their own paths.
Notes / Credits.
- This document is a work in progress. It will continue to be updated with additional information, guide sections, links, and resources to aid in mixed reality software development.